How to Download a Floor Plan:
Step 1: Go to the Site Summary
Step 2: Click Site Media tab
Step 3: Go to the ‘Download Page’
Step 4: Select the Floor Plan to download
View the video below for a quick how-to overview:
Step-by-Step:
Step 1: From the Sites tab at the top of the page, click the property that you would like to download the floor plans for. This will take you to the Site Summary page.

Step 2: From the Site Summary page, navigate to the Site Media tab on the left-hand side.
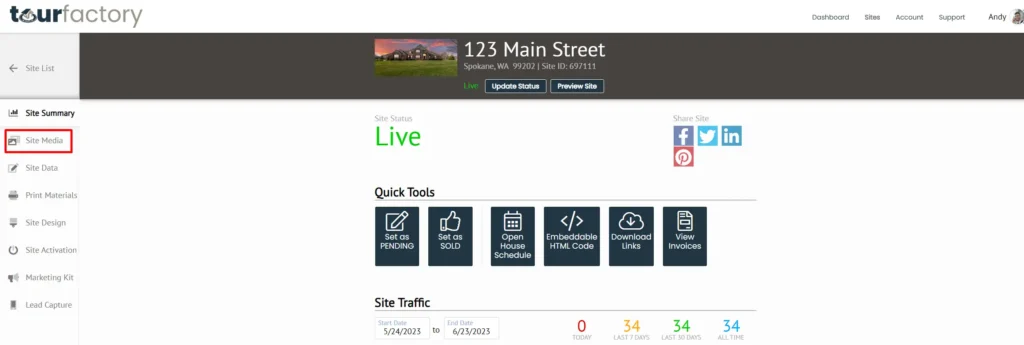
Step 3: On the Site Media page, all uploaded photos, floor plans, site attachments, and embedded media will display. To download floor plans, click the ‘Download Page’ button at the top of the page.

Step 4: Scroll down to the bottom of the download page to view the site’s floor plans. You may download your floor plans one of two ways:
Individually Download Floor Plans
To download floor plans individually, click the size option under the image:
Print Quality – Original size, high-quality image
MLS Size – 1,200 pixel long edge; acceptable for majority of MLS sites
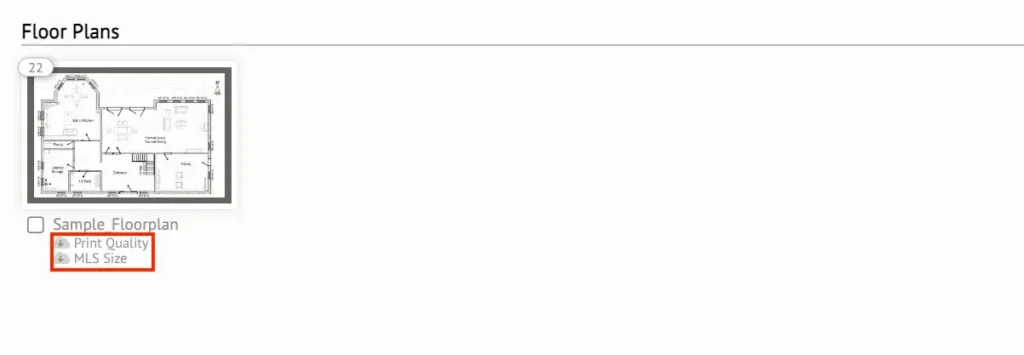
Note: floor plan will download as a .jpg image
Only a Select Few Floor Plans
If you have multiple floor plans uploaded and do not wish to download all of them, you can download only a select few by checking the box under the desired floor plan and selecting the corresponding size button:
Print Quality Zip – Original size, high-quality image
MLS Files – 1,200 pixel long edge; acceptable for majority of MLS sites

Note: the floor plans will download as a .zip file, which will need to be extracted. See the article below for instructions on how to unzip the file.
How to Unzip a Zip File on PC:
Do you have a Mac? Click here.
Step 1: Open your ‘File Explorer’ folder.
Note: if it is not pinned to your taskbar, search ‘File Explorer’ using the magnifying glass icon next to the Start Menu.

Step 2: Navigate to ‘Downloads’ on the left-hand side.
Note: if ‘Downloads’ is not present in your Quick Access section, it will be listed under This PC section.
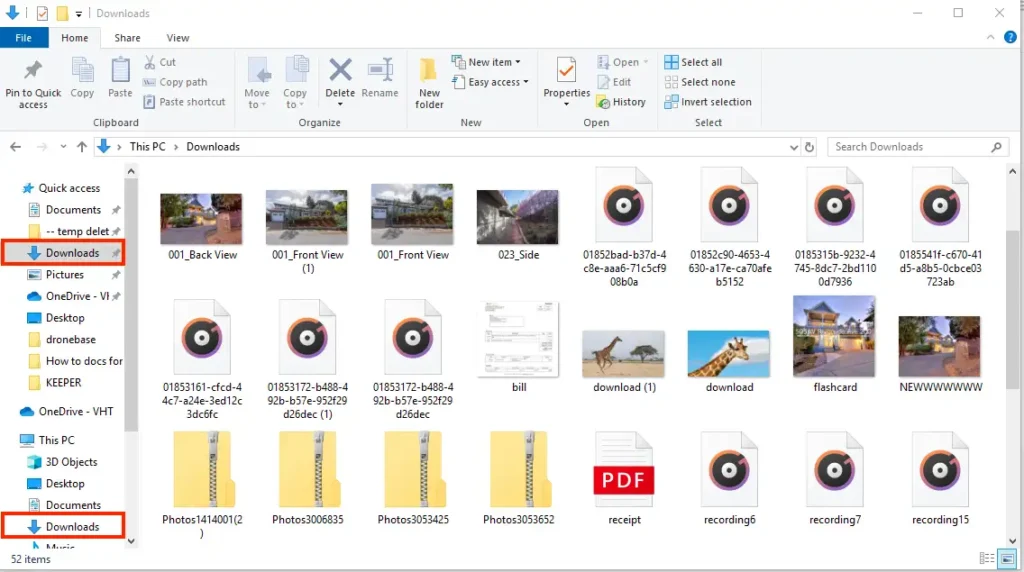
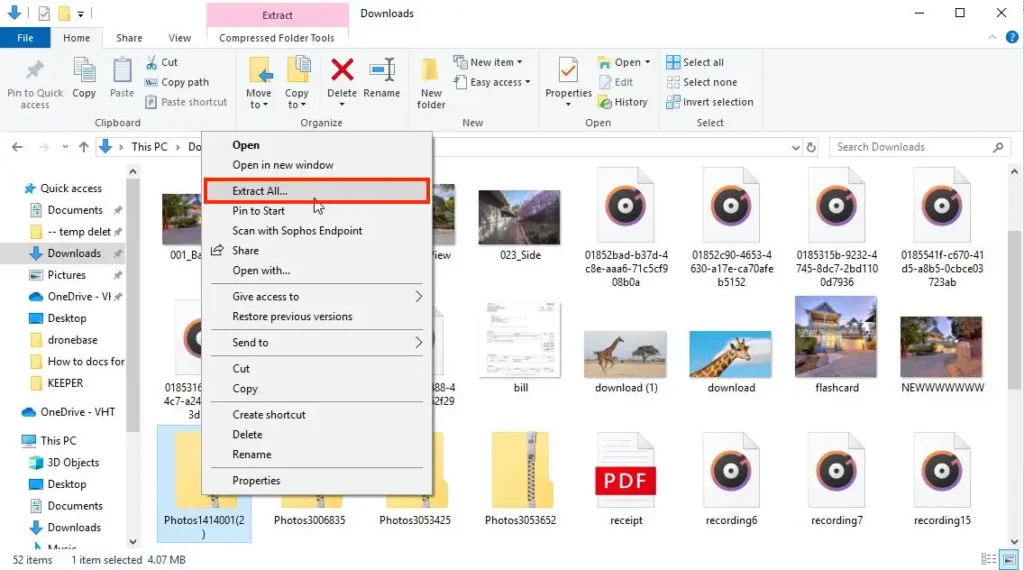
Step 3: Locate the .zip file download, right-click and select ‘Extract All…’
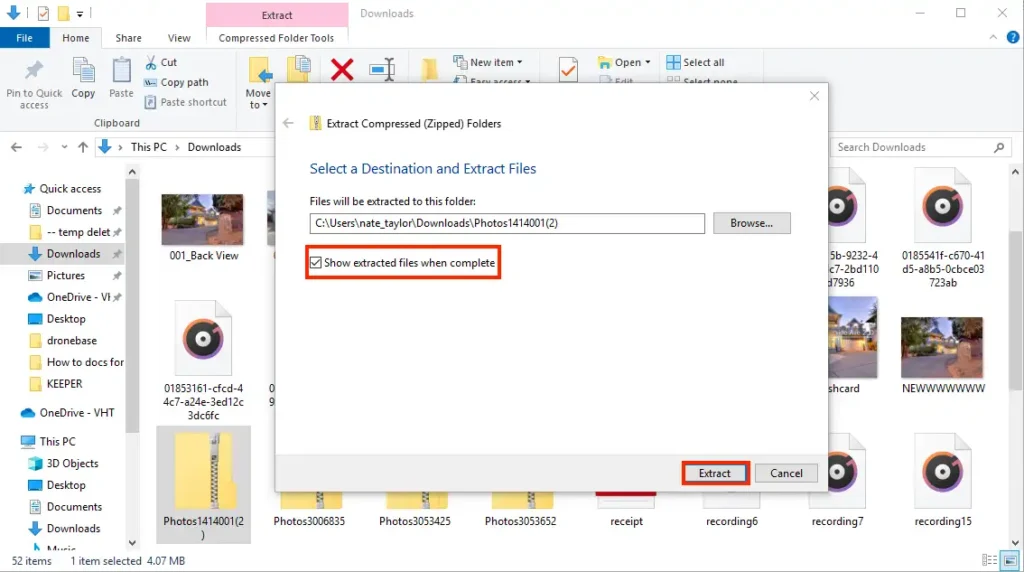
Step 4: On the pop-up screen, make sure ‘Show extracted files when complete’ box is checked, and click ‘Extract’.
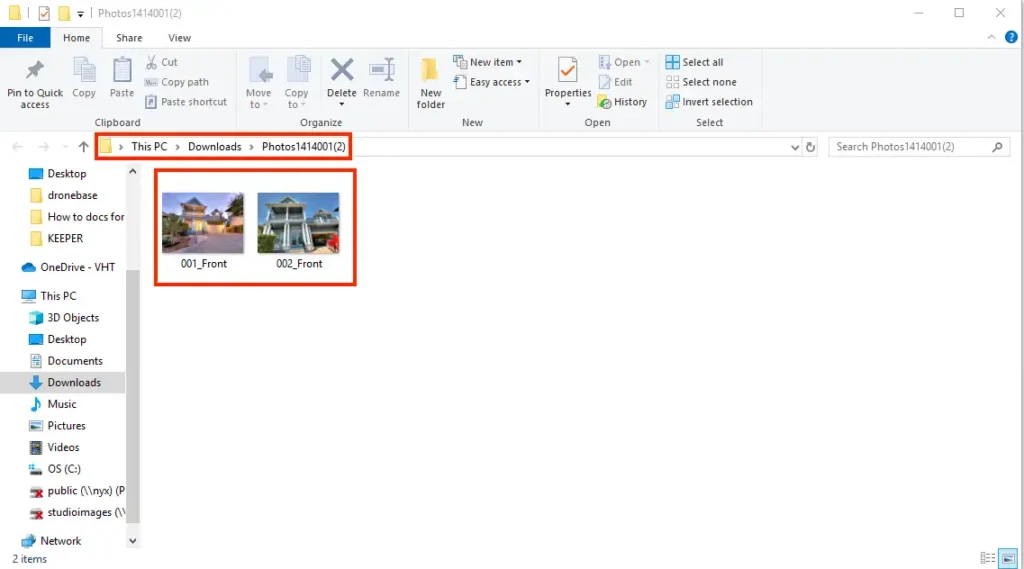
Step 5: A new folder will be created in Downloads with your photos; you are now able to select/edit as needed.
How to Unzip a Zip File on Mac:
Step 1: Open your ‘Finder’ folder
Note: if it is not present on your Dock, use the Menu Bar magnifying glass in the top right-hand corner to search ‘Finder’.

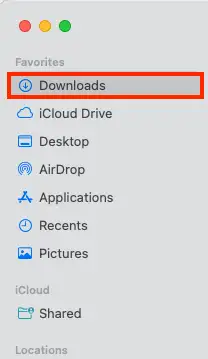
Step 2: Navigate to ‘Downloads’ in Sidebar on the left-hand side.
Note: if it is not pinned in your Sidebar Favorites, search ‘Downloads’ using the magnifying glass on the top right-hand side of the Finder folder.
Step 3: Locate the .zip file and double-click to unzip the download.
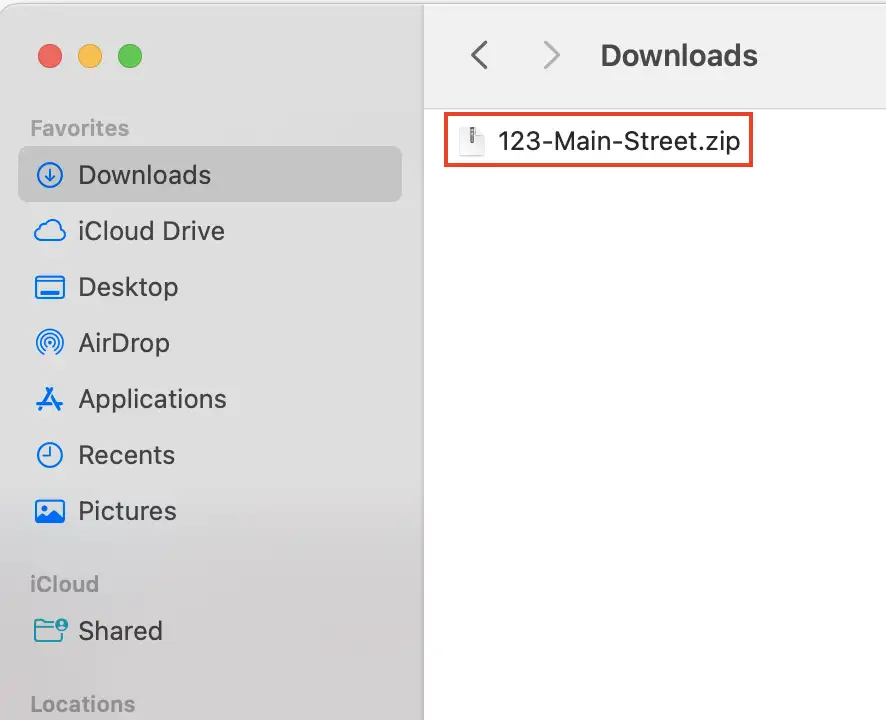
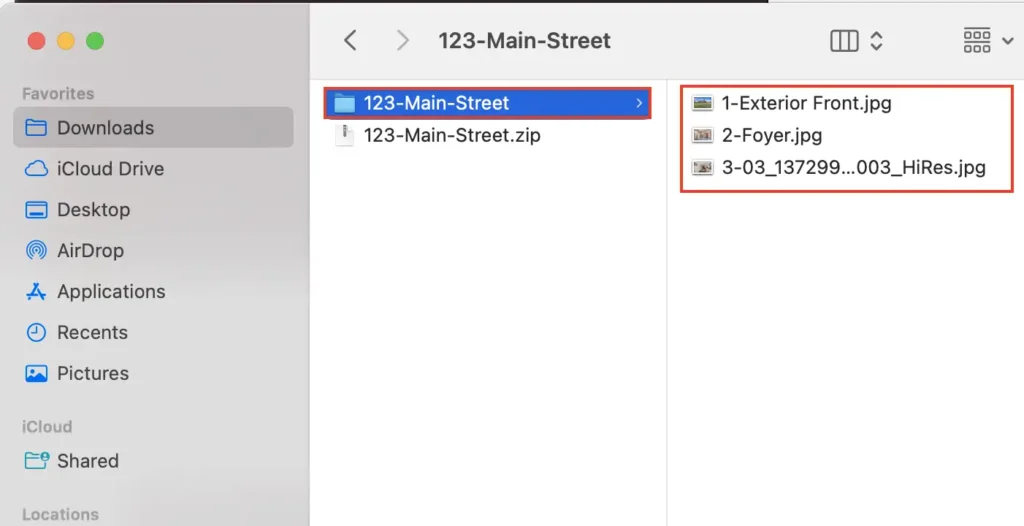
Step 4: This will automatically create a new folder with the .zip file name; your photos will be available inside to select/edit as needed.
