Flyer | TourFactory

Creating a Flyer

Flyer

How to Create a Flyer

Step 1: Go to Site Summary

Step 2: Click the Print Materials tab

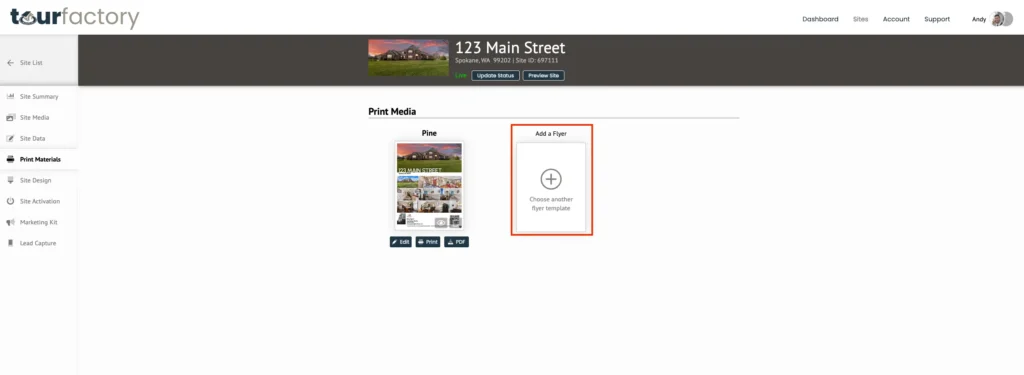
Step 3: Click ‘Add a Flyer’

Step 4: Select desired flyer template

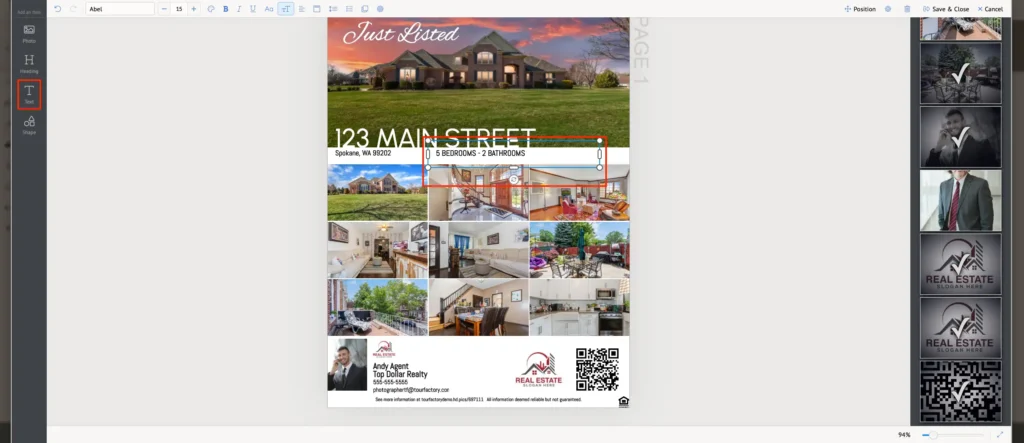
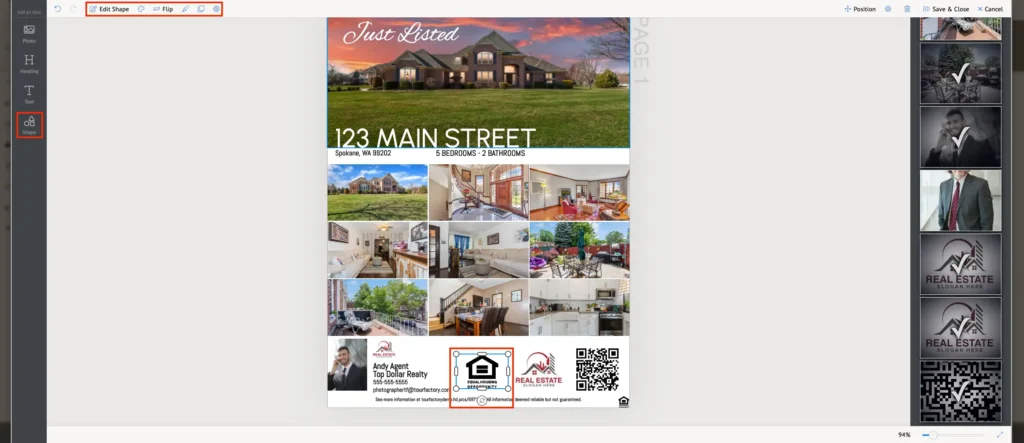
Step 5: Change information, if needed

Step 6: Click ‘Save & Close’

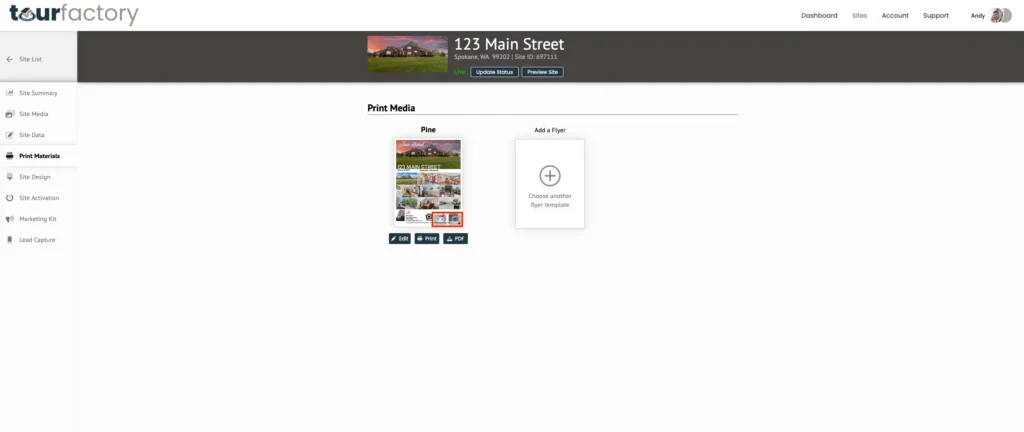
Step 7: Click ‘PDF’ to download

Step 8: Click ‘Print’ to print flyer

View the video below for a quick how-to overview:

Step-by-Step:

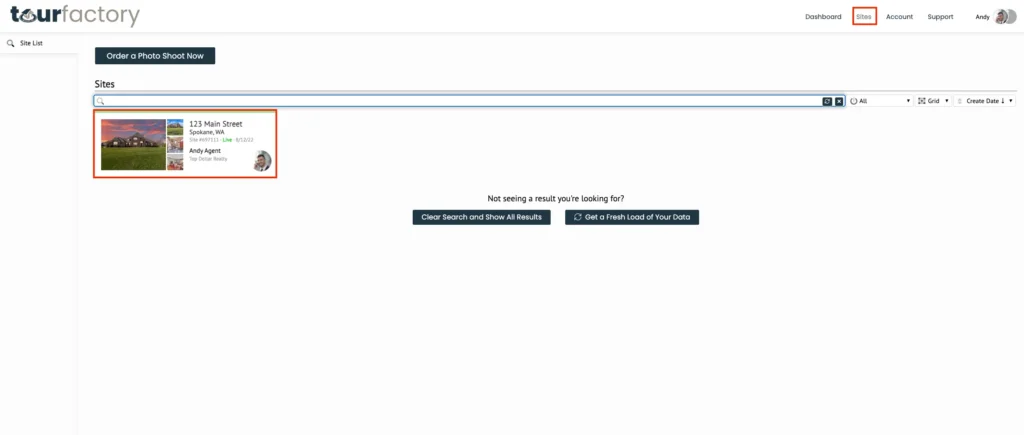
Step 1: From the Sites tab at the top of the page, click on the property that you would like to create a flyer for. This will take you to the Site Summary page.

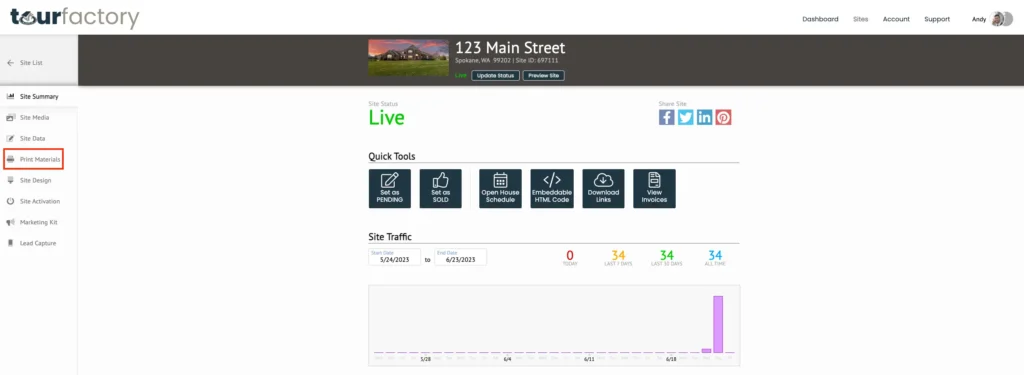
Step 2: Click on the Print Materials tab on the left-hand side.

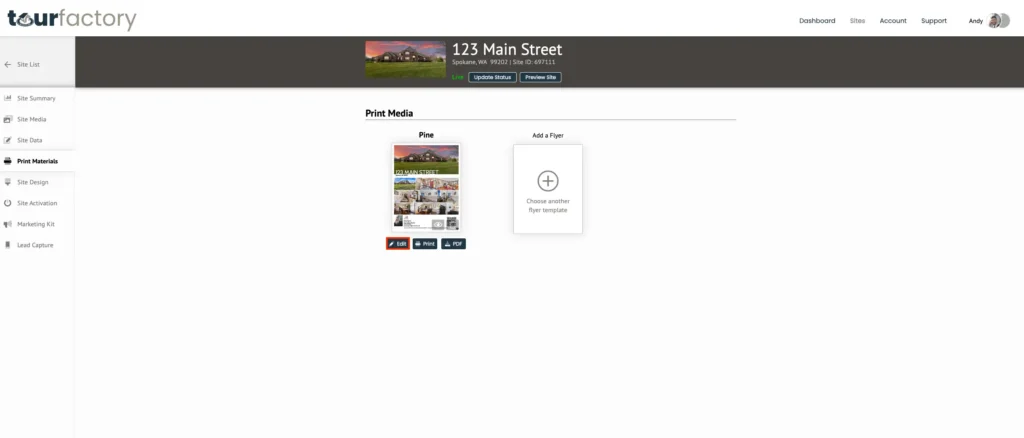
Step 3: Click the “Add a Flyer” button to choose the flyer template you would like to use.

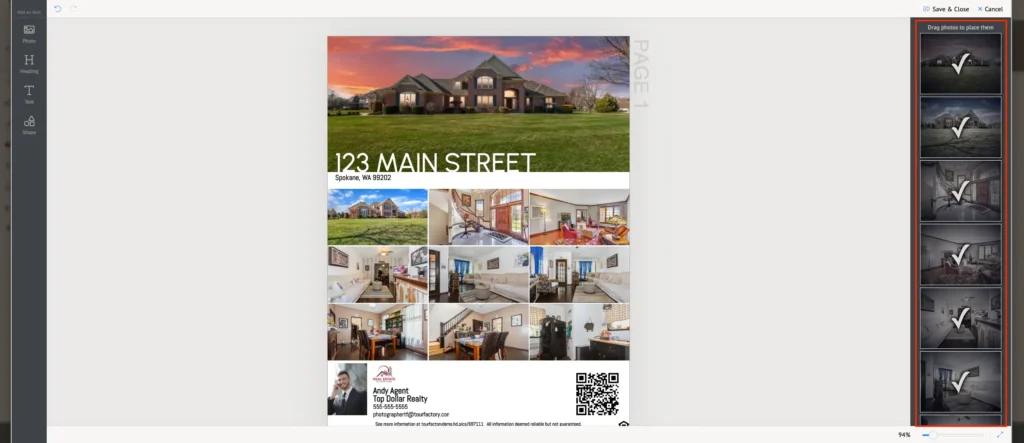
Step 4: Click the flyer template that you would like to use. The flyer will pre-populate with the images that have been uploaded on Site Media. Note: you can create multiple flyers for a property. If you already have a flyer created for a specific template name, it will no longer appear when adding a new flyer. You will need to edit the existing template that has already been created. Check out our Editing a Flyer article.

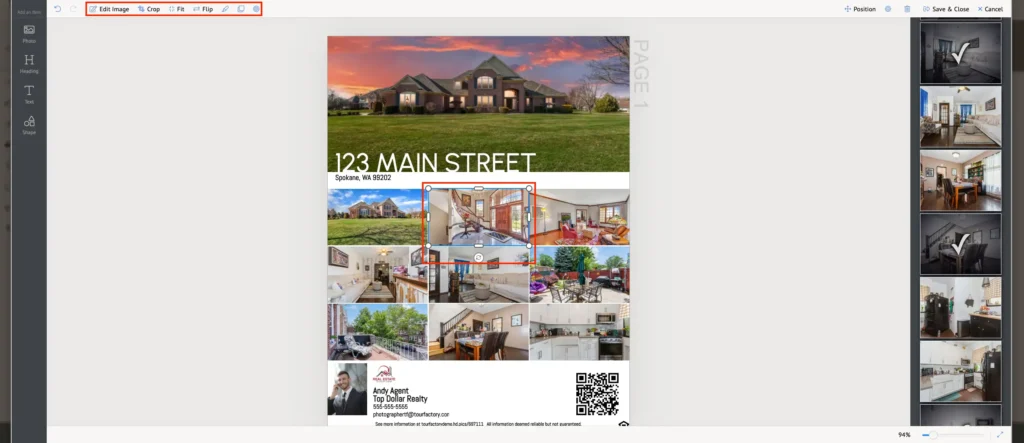
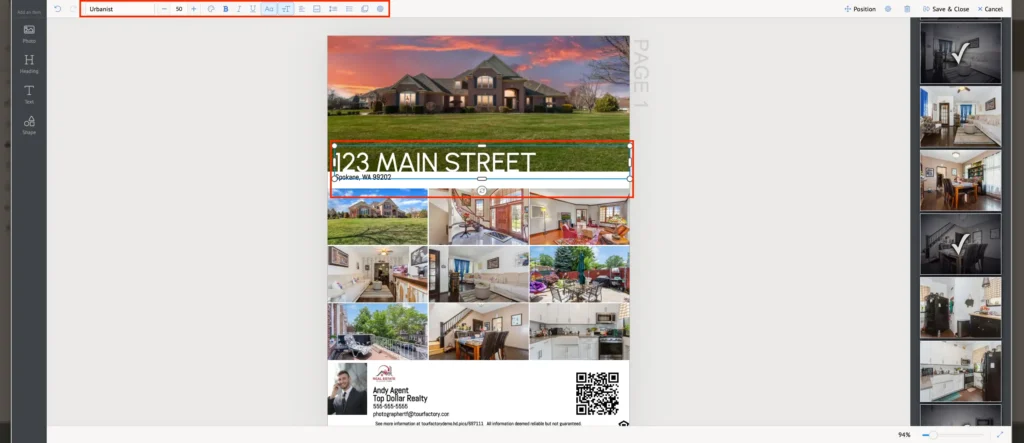
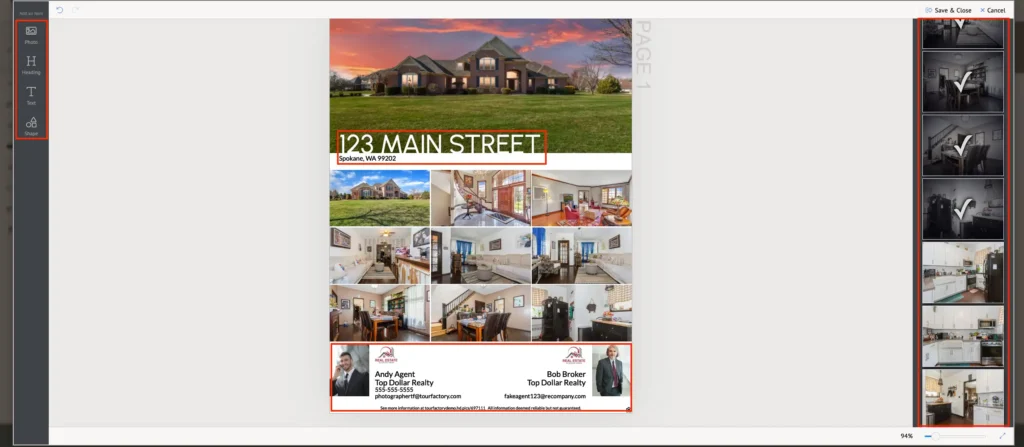
Step 5: You will then be able to make changes to your selected flyer. You can customize the photos, header & footer, add a QR code and even additional graphic shapes by using the editing tools to the left- and right-side of the page.

Note: if you have images starred on the Site Media page, those images will pre-populate into the top images on the flyer.

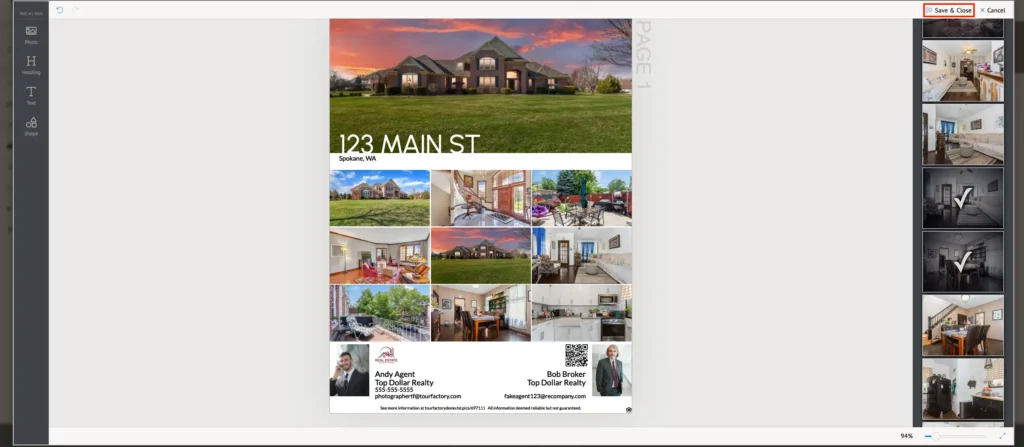
Step 6: Click the “Save & Close” button to save your created flyer.

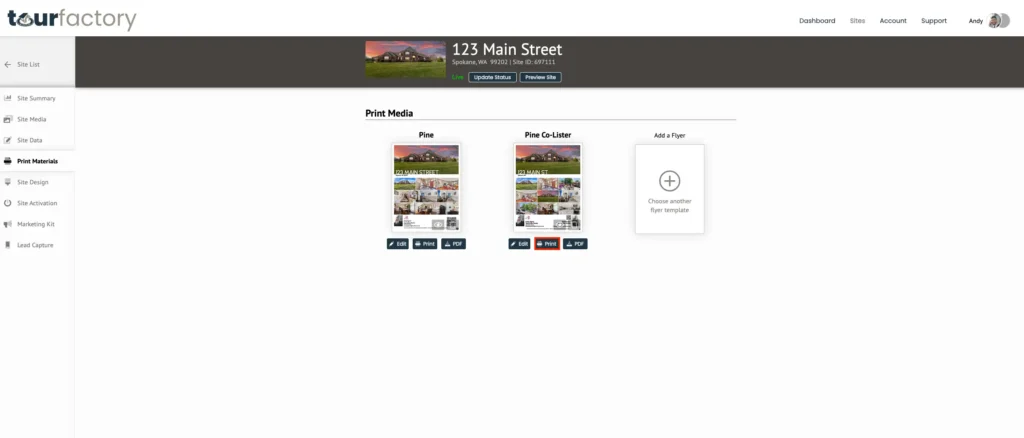
Step 7: Your created flyer will not appear on the Print Materials page. If you need to download your flyer, click the “PDF” button to download a PDF version of the flyer.

Step 8: You can also print your flyer directly from this page, without downloading, by clicking the “Print” button.

Note: The property must have a Site and Marketing Kit purchased in order to print the flyers.

Creating a Flyer FAQs

Can I professionally print my flyer through you?

Sorry, this service is not available at this time. However, you can download the PDF of your flyer and use that at a professional print shop.

My site has a co-lister, can their information be featured on site flyers?

Yes, once a co-lister is added to a site there are various flyer formats for sites with co-listers. If you need to add a co-lister to your site, you will need to reach out to TourFactory Client Services by calling (855) 433-0268 to make that change for you.

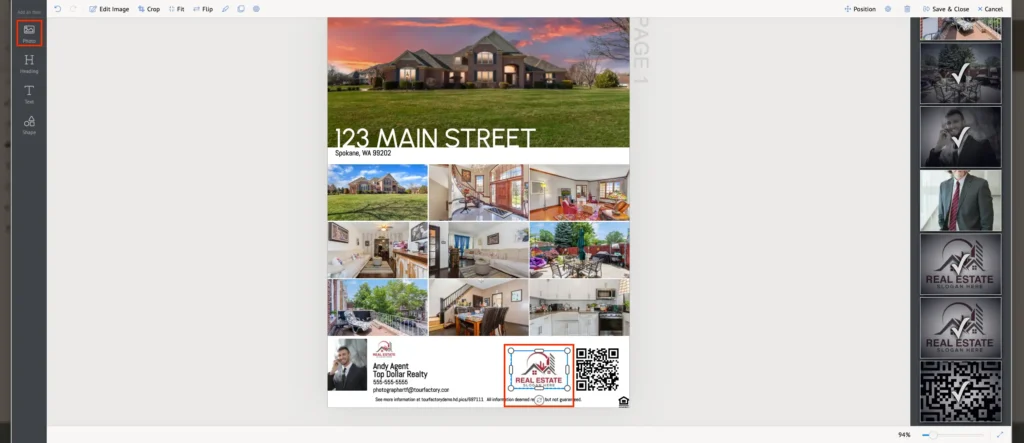
How can I add a QR code to my flyer?

Easily add a QR code by adding a Photo box or by selecting the image you’d like to replace. The QR code is the last image in the image toolbar on the right-hand side of the editor. Check out our Editing a Flyer article for more details.

Can I create a double sided flyer?

Yes, Walnut, Willow and Oak all have a back side template. Once created customized the front and back will download a separate PDFs. 

Where are my flyers viewable for others?

The flyers you create are viewable on your Property Site under the Description. Potential buyers can view them by clicking on the ‘Printable Flyer’ button.

Can I customize the clickable flyer icons on the property website?

No, the first flyer button will display as ‘Printable Flyer’ any subsequent flyers created will display as ‘Printable Flyer 2’, ‘Printable Flyer 3’ and so on. The text can not be customized. Flyers can be hidden from the property website by clicking the eye icon on the flyer.

Related Content

Editing a Flyer

Flyer

How to Edit a Flyer

Step 1: Go to the Site Summary tab

Step 2: Click the Print Materials tab

Step 3: Click ‘Edit’ 

Step 4: Drag/drop images

Step 5: Click any image box to make changes

Step 6: Click any text box to make changes

Step 7: Click ‘Photo’ to add extra photo spot

Step 8: Click ‘Heading’ to add extra heading box

Step 9: Click ‘Text’ to add extra text box

Step 10: Click ‘Shape’ to add various shapes

Step 11: Click ‘Save & Close’

Step 12: Hide or Delete your flyer, if needed

View the video below for a quick how-to overview:

Step-by-Step: 

Step 1: To edit or add a flyer for a property, go to the Site Summary for that property. From the Site tab at the top of the page, click the property that you would like to access the Site Videos for. This will take you to the Site Summary page.  

Step 2: From there, you will click the Print Materials tab on the left-hand side of the page.

Step 3: Click ‘Edit’ to access the flyer editor. 

Step 4: If you need to swap out any images, you can drag/drop images from the right-hand side to where you would like that image on the flyer. Note: headshots, logos, and QR code will also be included on the right-hand side with the property images.

Step 5: If needed, you can modify an image by clicking on that image box. Once you click on an image, you will see editing tools displayed across the top of the editor.

Edit Image – Allows you to make slight modifications to the image such as brightness or contrast

Crop – Allows you to crop the image

Fit – Allows you to reposition the image

Flip – Allows you to flip the image horizontally or vertically

Stroke – Creates an image border

Step 6: If needed, you can modify the verbiage in any existing text box by simply clicking on the text. Once you click on the text box, you will see text editing tools across the top of the flyer editor. Some of the things you can edit are font, size, color, alignment, or even delete a text box altogether (select trash bin from top right).

Step 7: On the left-hand side of the editor, you will see items that you can add to the flyer. If you click ‘Photo’, that will add a photo box. One way to use this would be if you chose a flyer that didn’t include your logo or a QR code. You can add an image box, drag/drop your logo from the right-hand side and then position/resize the box how you’d like.

Step 8: On the left, you can click ‘Heading’ to add a heading text box. An example where this would be used is if you would like to add a “Just Listed” or “Vacation Rental” type banner.

Step 9: If you find that you need an additional text box, you can add one by clicking ‘Text’ on the left-hand side. This can be used to add the property description, amenities, or even brokerage info.

Step 10: The ‘Shape’ button on the left-hand side will allow you to add some basic shapes. These shapes include the Realtor and Equal Housing logos, bed/bath icons, etc. Note: to change the selected shape, click the shape and select ‘Edit Shape’ from the top left. You can also change the shape color, flip the direction, and add a border.

Step 11: Once you have made all of your desired changed, be sure to click the ‘Save & Close’ button in the upper right-hand side. This will take you back to the Print Materials page where you can add additional flyers or print/save the flyer you just created. Note: if you click ‘Cancel’ or click out of the editor without doing ‘Save & Close’ then any changes made will not be saved.

Step 12: If you find that you would like to hide or delete your flyer, choose from the grayed-out icons; the eye will hide the flyer from your Property Site and the trash can will delete the flyer. An example of why you may want to hide the flyer is if you’d like to create one for each stage of the listing (i.e. just listed, open house, sold).

Note: deleting a flyer can not be undone.

Related Content