How to Add a Display Condition
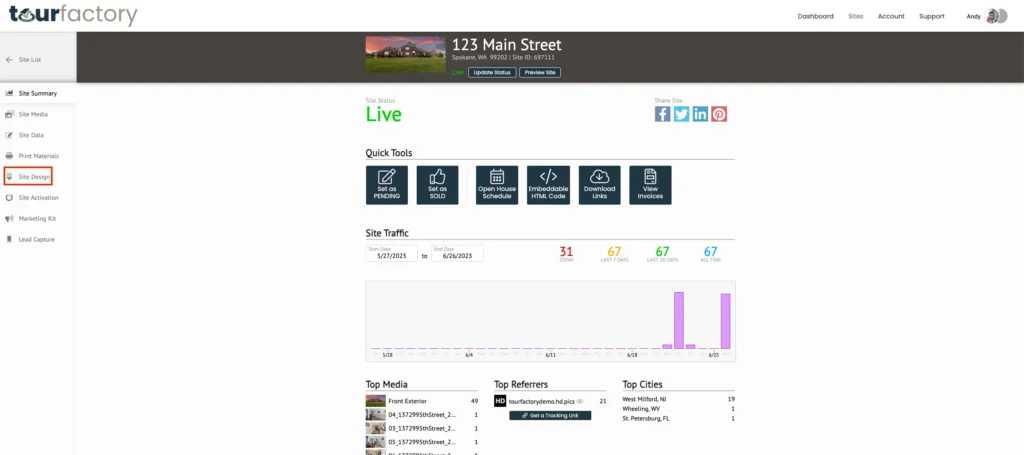
Step 1: Go to the Site Summary
Step 2: Click the Site Design tab
Step 3: Select ‘Add A Display Condition’
Step 4: Choose desired Series
Step 5: Choose Series color
Step 6: Choose Device Type
Step 7: Choose IDX Mode
Step 8: Fill in the Clue Word field, if desired
Step 9: Click ‘OK’
Step 10: Rearrange the designs, if needed
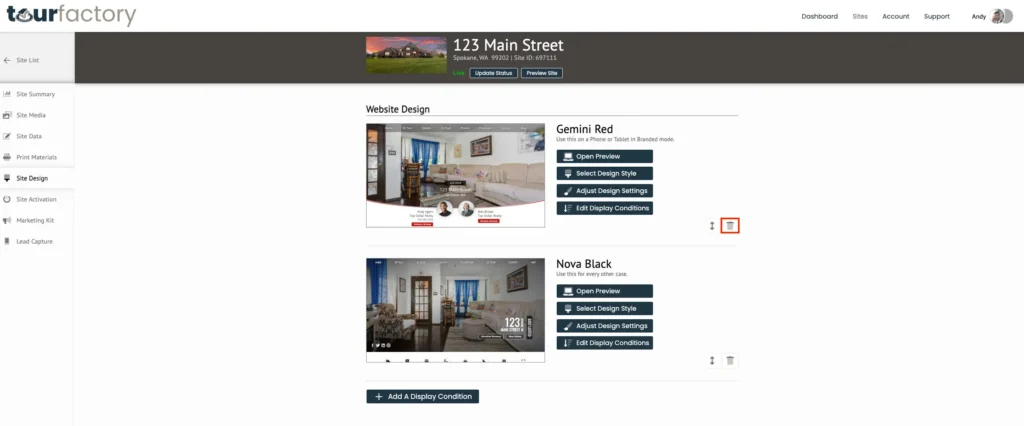
Step 11: Delete designs, if needed
View the video below for a quick how-to overview:
Step-by-Step:
Step 1: From the Sites tab at the top of the page, click the property that you would like to add a display condition for. This will take you to the Site Summary page.

Step 2: Click the Site Design tab on the left-hand side.
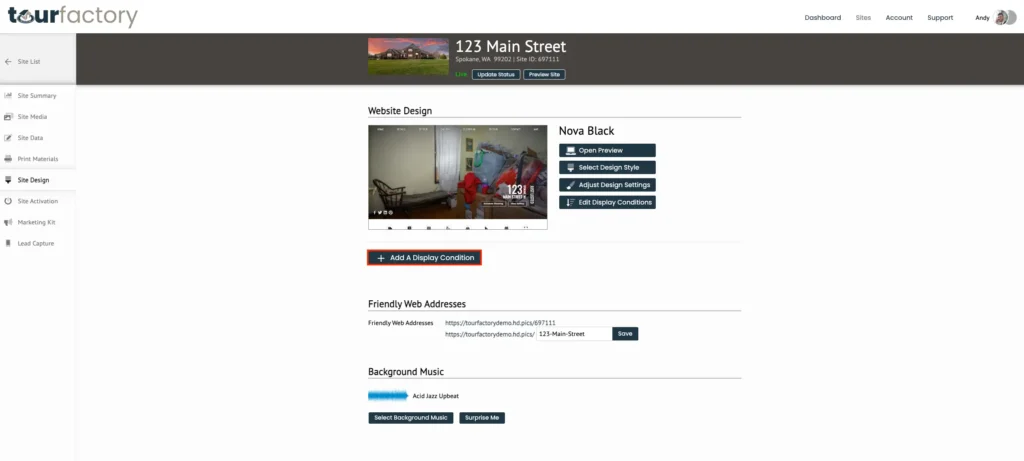
Step 3: Under the Website Design section, select ‘Add A Display Condition’ button.
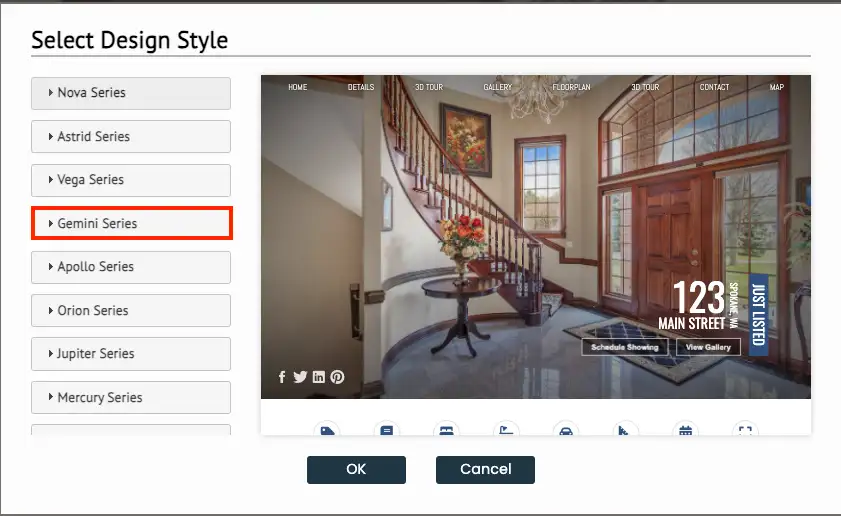
Step 4: In the pop-up box, on the left-hand side, choose the Design Style Series that you would like to use.
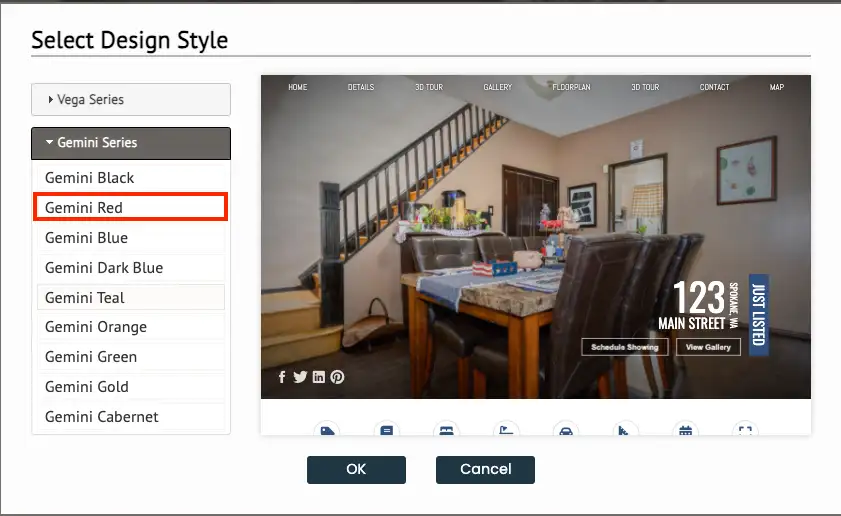
Step 5: In the drop-down menu that appears, select the Series color that you would like to use. Clicking on a series color will give you a preview of what the site will look like with that color selected. Note: you can scroll down in the preview box to view the whole site in the selected color.
Step 6: Select the ‘Device Type’ from the drop-down menu. This will choose when to apply the condition (i.e. if a potential buyer views your site from their phone).
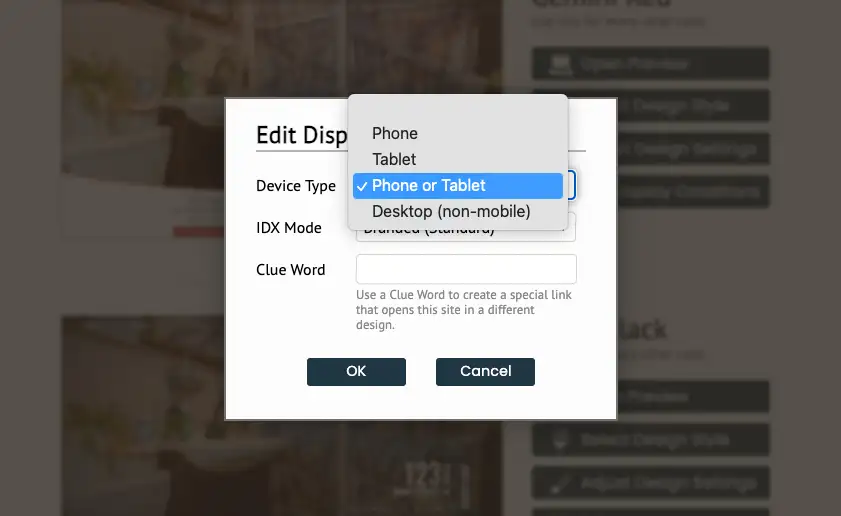
Step 7: Select the ‘IDX Mode’: either Branded or Unbranded.
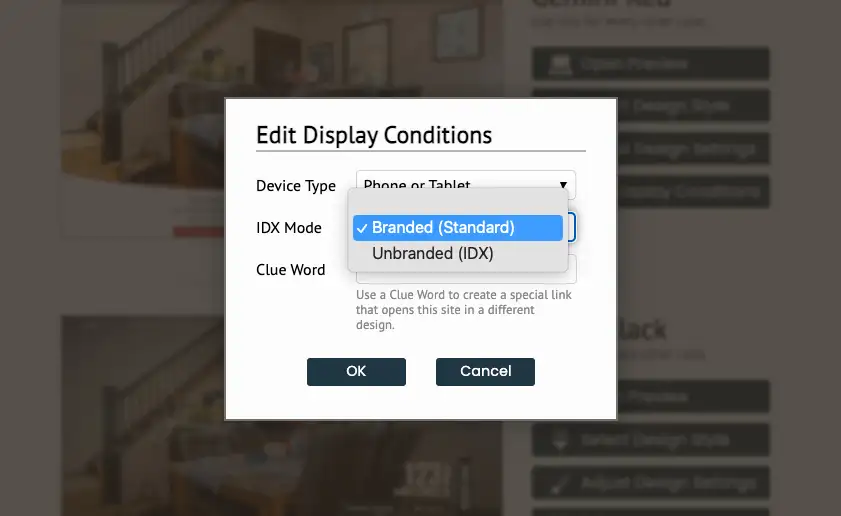
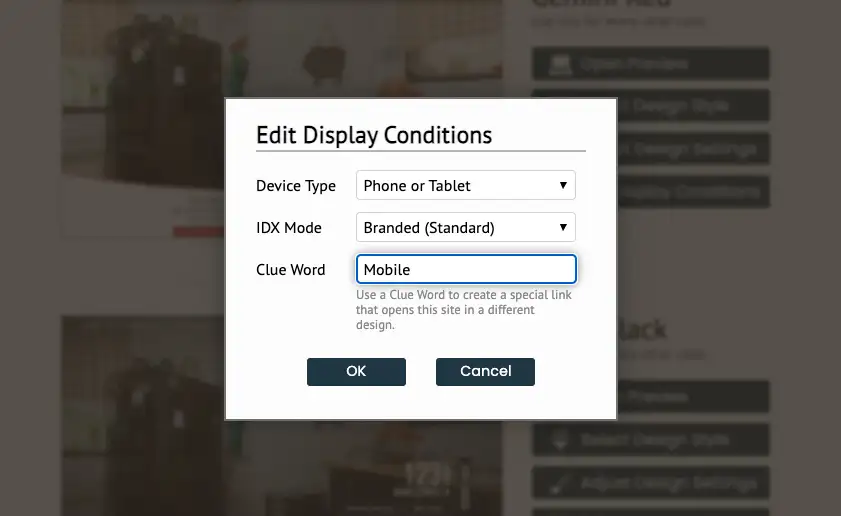
Step 8: If you would like, you can type in a ‘Clue Word’ to create a special link. An example of how you would use this feature is, you could send a special link to any potential buyer who only uses their mobile device to view websites.
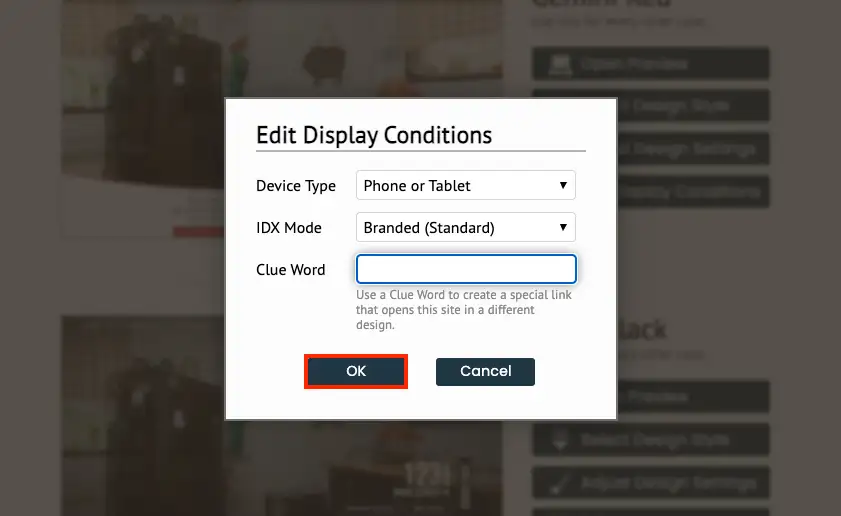
Step 9: Once you’ve chosen your conditions, click ‘OK’.
Step 10: If you would like to rearrange your conditions, click the vertical arrow icon and drag to move the design up or down.
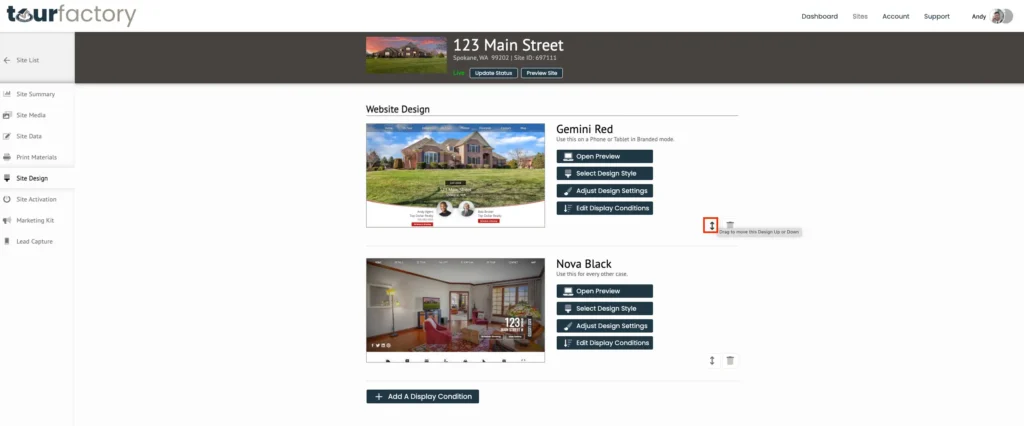
Step 11: If you would like to delete an extra design, click the trash icon.
